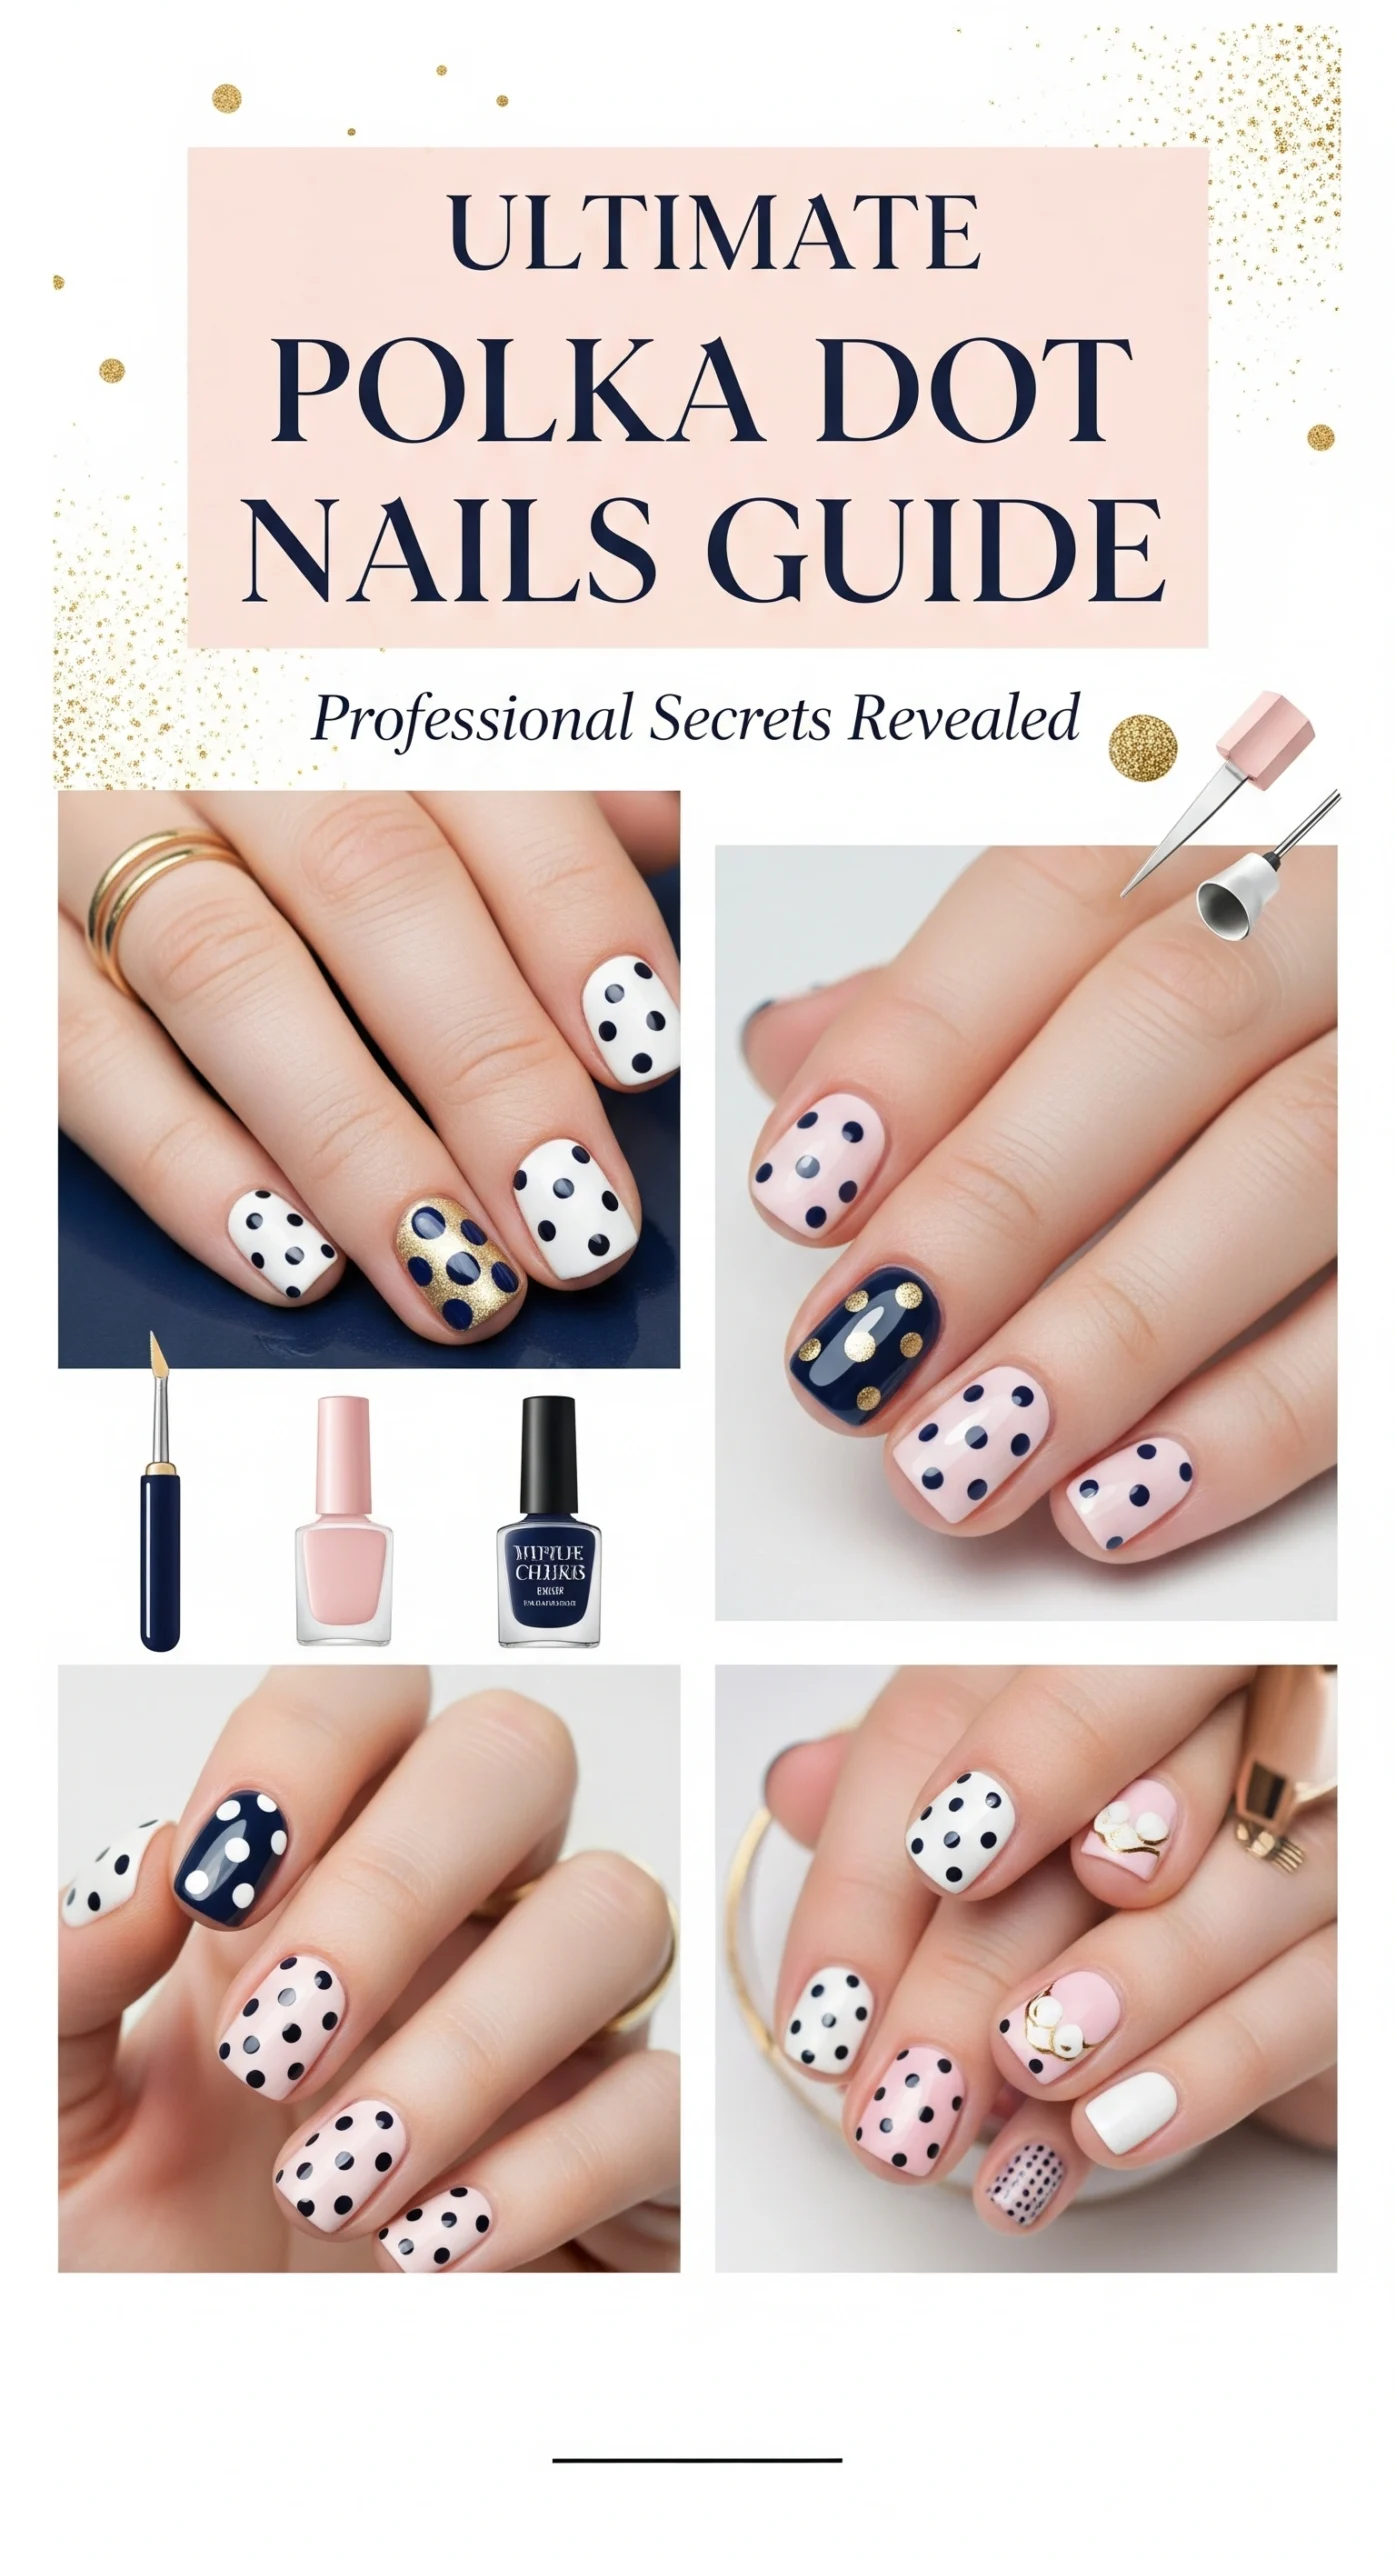
Ultimate Polka Dot Nails Guide – Expert Tips & Techniques
Master polka dot nails with professional techniques from nail experts. Get perfect spotted manicures at home with our guide and pro secrets.
The Polka Dot Nails Secret Nail Professionals Use
Did you know that polka dot nails are actually one of the most forgiving nail art techniques for beginners, yet remain a staple in professional salons worldwide? After 25 years in the beauty and nail industry, I’ve watched countless clients transform their manicure game with this seemingly simple yet endlessly versatile design. The secret isn’t just in the dots themselves—it’s understanding the science of dot placement, color theory, and the precise tool techniques that separate amateur attempts from salon-quality polka dot nails.
What surprises most people is that perfect polka dot nails aren’t about creating identical circles. The magic lies in controlled imperfection that creates visual rhythm and movement across your nail canvas. This technique has roots dating back to the 1950s pin-up era, but modern formulations and professional tools have revolutionized how we approach spotted nail art.
Throughout this comprehensive guide, I’ll share the insider techniques I’ve developed over decades of perfecting polka dot nails for celebrities, brides, and everyday clients. You’ll discover why nail anatomy matters for dot placement, which tools create the most professional results, and how to troubleshoot the most common polka dot disasters before they happen.
Best Amazon Picks :
BTArtbox Press On Nails Short
24 Pcs Almond Press On Nails
Gold Stars Press on Nails French Tips Medium
Semi Cured Gel Nail Strips, 28 pcs UV Gel Nail
Black White Press on Nails Square Fake Nails
French Press on Nails Medium Square Fake Nails
Black French Tip Press on Nails
The Science Behind Polka Dot Nails
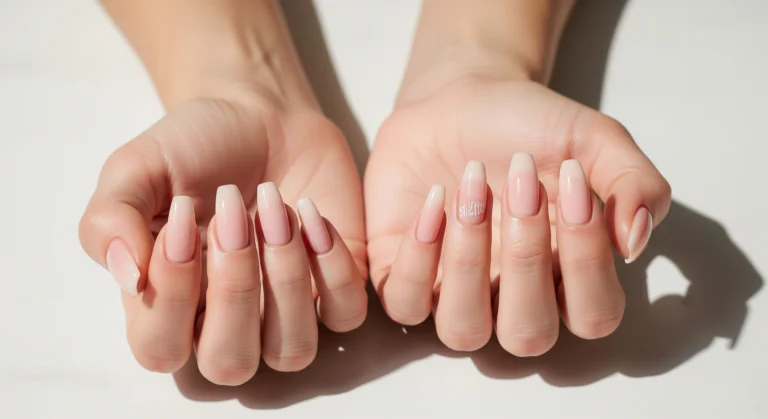
The foundation of stunning polka dot nails lies in understanding nail anatomy and how it interacts with polish application. Your nail plate’s natural curve affects how dots appear—what looks perfectly round on a flat surface becomes elongated on the curved nail surface. This is why professional nail artists adjust their dotting technique based on nail shape and length.
Recent dermatological research shows that the nail plate’s keratin structure influences polish adhesion differently across its surface. The apex (highest point) of your nail receives less natural oil distribution, making it ideal for intricate nail art like polka dots. This explains why dots placed strategically along the nail’s natural architecture last longer and maintain their crisp edges.
Color theory plays a crucial role in polka dot nail success. The contrast between your base color and dots creates visual impact, but the undertones must complement each other. Cool-toned base colors (blues, purples, grays) pair beautifully with warm-toned dots (oranges, yellows, coral), while warm bases benefit from cool-toned dots. This color relationship prevents the muddy appearance that plagues many DIY attempts.
Polish chemistry affects dot formation significantly. Fast-drying formulas work best for dotting because they maintain their shape without bleeding into the base color. The viscosity of your polish determines dot size consistency—thicker formulas create more uniform circles, while thin formulas tend to spread unpredictably.
Professional nail technicians understand that nail plate preparation affects dot adhesion. Proper cuticle care, nail surface buffing, and dehydration create the optimal canvas for polka dot application. Without this foundation, even the most precisely applied dots will chip or peel prematurely.
The Professional Polka Dot Nails System
Nail Assessment Phase
Begin every polka dot manicure by analyzing your nail canvas. Examine nail shape, length, and natural curve to determine optimal dot placement. Short nails benefit from smaller, fewer dots to avoid overwhelming the limited space. Long nails can accommodate larger dots and more complex patterns. Consider your nail width—narrow nail beds look best with linear dot arrangements, while wide nails can handle clustered or scattered patterns.
Assess your base color’s opacity and finish. Cream formulas provide the most stable foundation for dotting, while shimmers can interfere with dot definition. Sheer bases require extra coats to prevent dots from appearing muddy or blended.
Preparation Methods
Professional polka dot nails require meticulous preparation. Start with thorough cuticle care using a cuticle remover containing alpha hydroxy acids. These ingredients soften dead skin without damaging living tissue. Push cuticles back gently with a birchwood stick, never metal tools that can scratch the nail plate.
Buff nail surfaces lightly with a 240-grit file to create microscopic texture for better polish adhesion. Remove all oils using a nail dehydrator or rubbing alcohol. This step is crucial—any residual oils will cause dots to smudge or lift.
Apply a high-quality base coat designed for nail art. Look for formulas containing ingredients like nitrocellulose and plasticizers that create flexibility and adhesion. Allow complete drying before proceeding—rushing this step guarantees failure.
Best Amazon Picks :
BTArtbox Press On Nails Short
24 Pcs Almond Press On Nails
Gold Stars Press on Nails French Tips Medium
Semi Cured Gel Nail Strips, 28 pcs UV Gel Nail
Black White Press on Nails Square Fake Nails
French Press on Nails Medium Square Fake Nails
Black French Tip Press on Nails
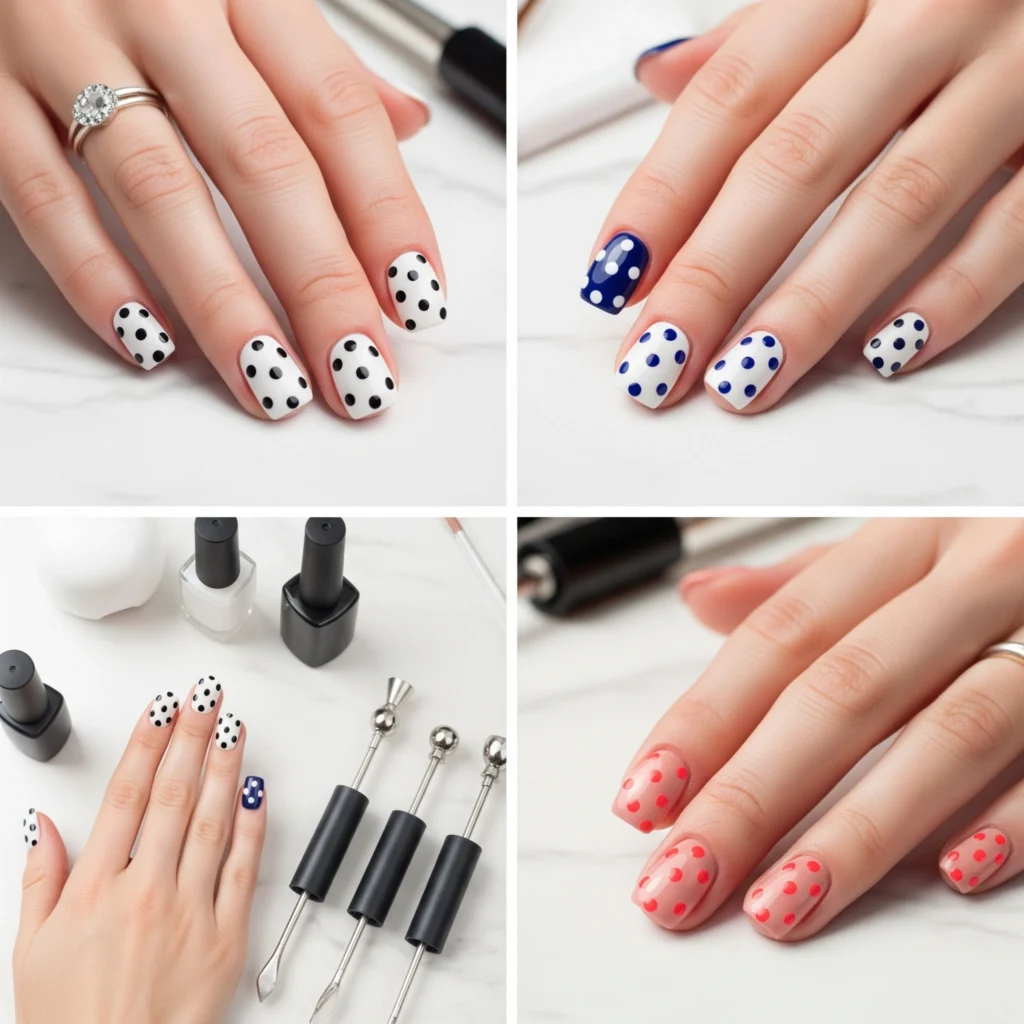
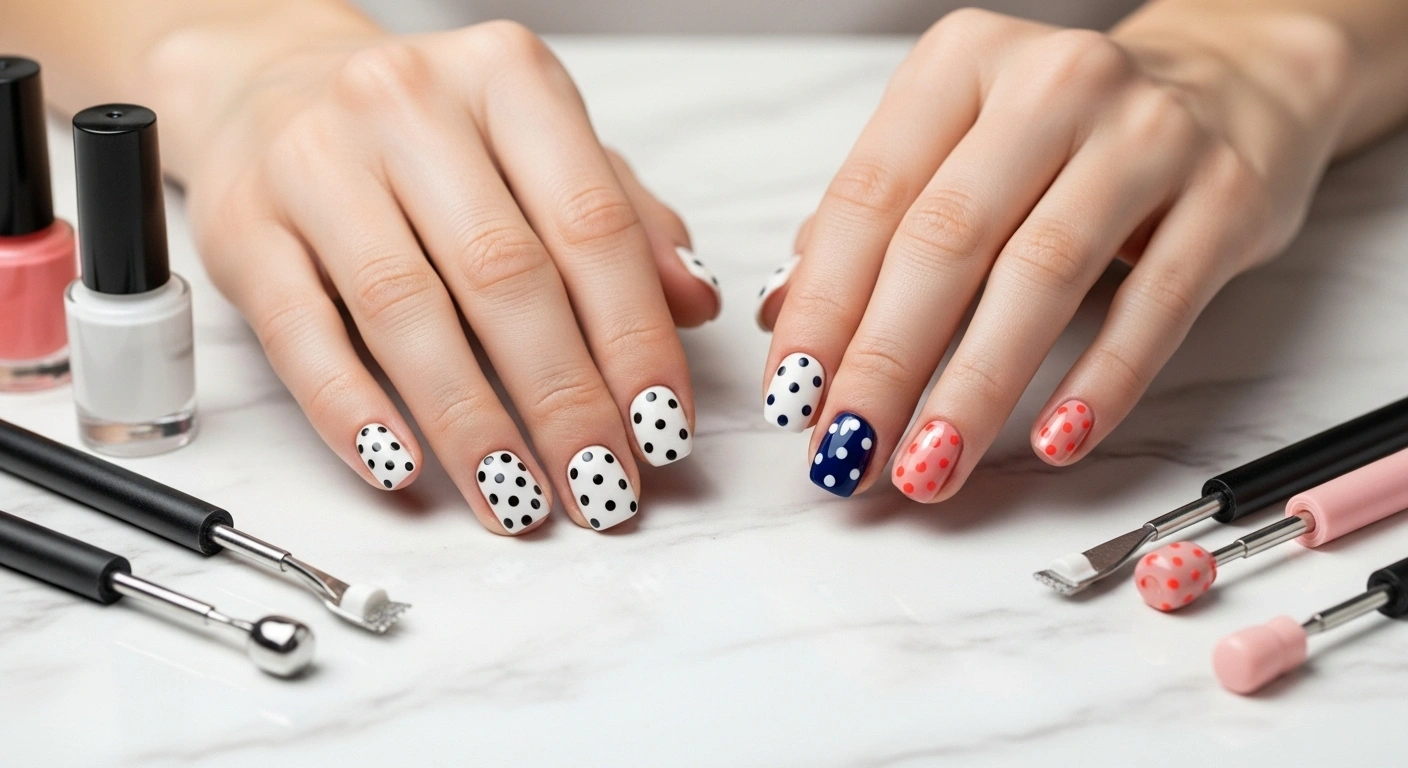
Application Process
Apply your chosen base color in thin, even coats. Two thin coats always outperform one thick application. Allow each coat to dry completely—typically 2-3 minutes depending on room temperature and humidity. The base must be completely set before dotting begins.
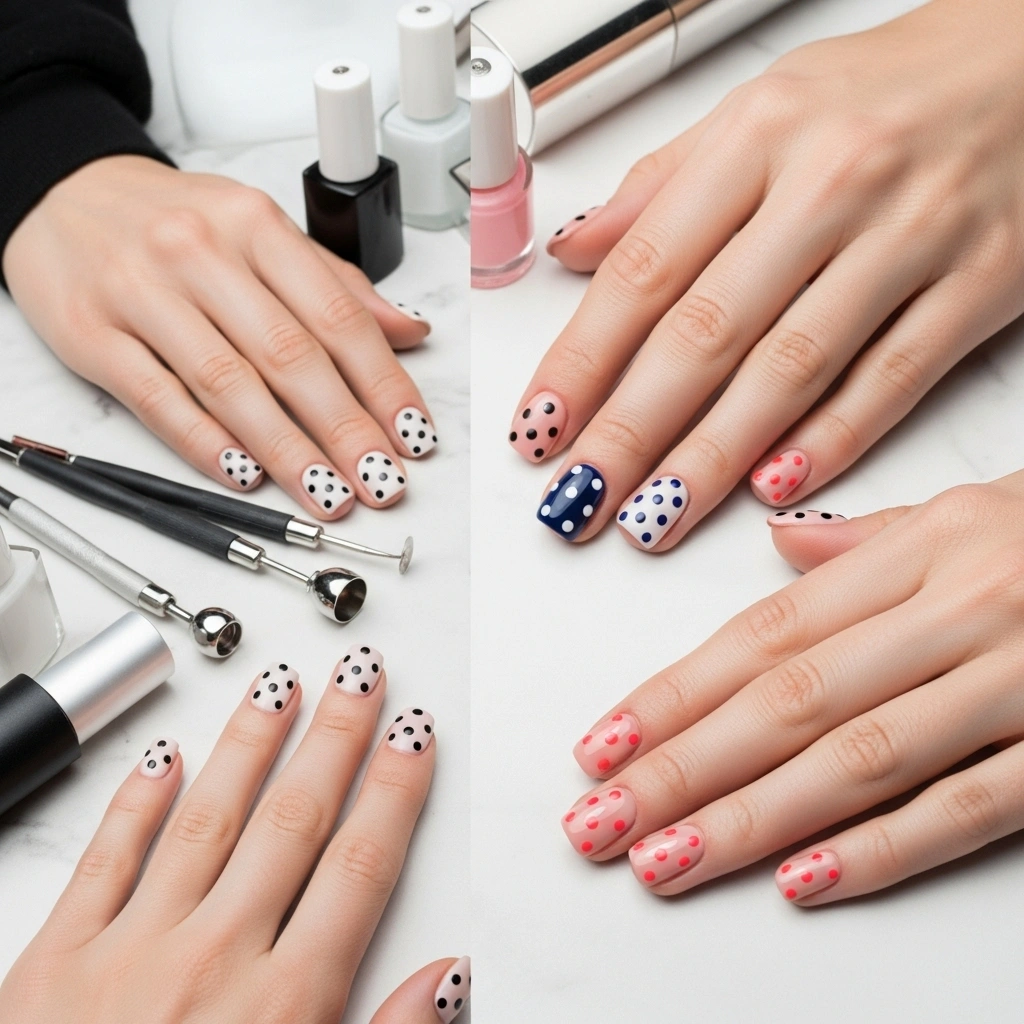
For dotting tools, professional options include wooden styluses, metal ball tools, and specialized dotting pens. Bobby pins and toothpicks work in emergencies but lack precision. The tool size determines dot diameter—experiment on practice wheels to find your preferred sizes.
Load your dotting tool by dipping it into fresh polish on a palette (never directly from the bottle). The amount of polish on the tool determines dot size and opacity. Practice the pressure and angle that creates your desired results.
Begin dotting from the center of each nail, working outward. This prevents accidental smudging and ensures balanced placement. Maintain consistent pressure and avoid dragging the tool—a straight up-and-down motion creates the cleanest circles.
Finishing Techniques
Once all dots are complete and dry, apply a high-quality top coat to seal the design. Use a top coat with UV filters to prevent color fading and maintain dot definition over time. Apply in thin strokes to avoid disturbing the underlying art.
For maximum longevity, cap the nail edges by brushing top coat over the nail tip. This simple technique prevents chipping and extends wear time significantly.
Maintenance Protocol
Polka dot nails require specific maintenance for optimal appearance. Apply cuticle oil daily to maintain nail health and prevent lifting at the nail edges. Reapply top coat every 3-4 days to refresh shine and protect the design.
When touch-ups are necessary, use a small brush to recreate damaged dots rather than attempting to use dotting tools over existing polish. This approach maintains consistency and prevents buildup.
Best Amazon Picks :
BTArtbox Press On Nails Short
24 Pcs Almond Press On Nails
Gold Stars Press on Nails French Tips Medium
Semi Cured Gel Nail Strips, 28 pcs UV Gel Nail
Black White Press on Nails Square Fake Nails
French Press on Nails Medium Square Fake Nails
Black French Tip Press on Nails
Pro Nail Secrets for Advanced Polka Dot Applications
After decades perfecting polka dot techniques, I’ve discovered insider secrets that separate amateur attempts from professional results. Temperature control is crucial—work in a room between 68-72°F with low humidity for optimal polish behavior. High humidity causes polish to remain tacky longer, leading to smudged dots.
The “floating dot” technique creates dimensional effects by applying dots over slightly tacky base color. This allows dots to sink slightly into the base, creating a subtle gradient effect at the edges. Master nail artists use this technique for high-end editorial work.
Color layering creates depth in polka dot designs. Apply lighter dots first, then add darker accent dots on top. This creates visual hierarchy and prevents the flat appearance of single-color patterns. Celebrity nail artist techniques often involve three or more dot colors in graduating sizes.
Tool rotation prevents polish buildup that creates irregular dots. Clean your dotting tool every 3-4 dots using a lint-free wipe soaked in acetone. This maintains consistent dot size and prevents dragging.
Seasonal adaptations elevate polka dot nails for different occasions. Summer designs benefit from bright, contrasting colors and larger dots. Winter calls for subtle, tonal variations with smaller, more precise dots. Spring polka dots shine with pastel combinations and medium-sized dots that echo blooming flowers.
Professional timing is essential—allow 30 seconds between each dot application to prevent bleeding. Rush the process, and you’ll end up with merged, undefined shapes that look amateur.
The “reverse dotting” technique involves applying dots to the nail, then using a smaller tool to create negative space circles within each dot. This advanced technique requires steady hands but creates stunning, professional-looking results.
Real Polka Dot Nails Success Stories
Client transformations demonstrate the power of professional polka dot techniques. Sarah, a 34-year-old teacher, struggled with DIY nail art until learning proper dot placement principles. By positioning dots along her nail’s natural curve and using complementary colors, she achieved salon-quality results that lasted two weeks without chipping.
Michelle, a bride-to-be, wanted subtle polka dot nails for her wedding. Using nude bases with white dots in varying sizes, we created elegant spotted nails that photographed beautifully and complemented her vintage dress. The key was using only 5-7 dots per nail in asymmetrical placement.
Professional nail artist Lisa implemented these techniques in her salon and reported 40% fewer client complaints about polka dot durability. By focusing on proper preparation and color theory, her polka dot services became her most requested nail art option.
Teenager Emma transformed her nail-biting habit by learning polka dot techniques. The focus required for precise dot placement helped break her nervous habit while building confidence in her artistic abilities. After six months, her nails grew strong enough for elaborate polka dot designs.
Corporate executive Janet discovered that subtle polka dot nails in neutral tones provided professional-appropriate nail art that expressed her personality without being distracting. Small dots in taupe over cream base became her signature look.
These success stories share common elements: proper preparation, color theory application, and patience during the dotting process. Each client learned that polka dot nails aren’t just about the dots themselves—they’re about creating balanced, wearable art.
Best Amazon Picks :
BTArtbox Press On Nails Short
24 Pcs Almond Press On Nails
Gold Stars Press on Nails French Tips Medium
Semi Cured Gel Nail Strips, 28 pcs UV Gel Nail
Black White Press on Nails Square Fake Nails
French Press on Nails Medium Square Fake Nails
Black French Tip Press on Nails
Avoiding Polka Dot Nails Disasters
Prevention is always better than correction when it comes to polka dot nail failures. The most common disaster is dot bleeding, caused by applying dots over insufficiently dried base color. Always wait until the base passes the “tap test”—when you can tap the nail surface without leaving fingerprints.
Uneven dot sizes plague many DIY attempts. This occurs from inconsistent tool loading or varying pressure. Practice on a palette first, noting how much polish creates your desired dot size. Maintain consistent pressure throughout the application process.
Color muddiness happens when undertones clash or when polish formulations are incompatible. Test color combinations on practice wheels before committing to your nails. Avoid mixing polish types—don’t combine gel with regular lacquer or fast-dry formulas with traditional polishes.
Smudging during application results from working too quickly or using dirty tools. Clean dotting tools between each color change and allow adequate drying time between steps. If smudging occurs, remove the affected dots immediately with a small brush dipped in acetone.
Poor dot placement creates visual imbalance. Avoid perfectly symmetrical patterns—they appear rigid and unnatural. Instead, create controlled asymmetry that follows your nail’s natural proportions.
Tool-related disasters include using inappropriate implements that create jagged edges or inconsistent shapes. Invest in proper dotting tools or create DIY versions using bobby pins with the coating removed for smooth, round tips.
Premature chipping occurs when base preparation is inadequate or when top coat is skipped. Never rush these foundational steps—they determine the longevity of your polka dot design.
Overcrowding is a common mistake that creates chaotic, busy-looking nails. Follow the rule of odd numbers—use 3, 5, or 7 dots per nail for the most pleasing arrangements.
Essential Polka Dot Nails Products & Tools
Must-Have Products
Quality base coat with strong adhesion properties forms the foundation of long-lasting polka dot nails. Look for formulas containing nitrocellulose resins and plasticizers that create flexibility while maintaining durability. Popular professional choices include OPI Natural Nail Base Coat and Essie Here To Stay Base Coat.
Fast-drying polishes in complementary colors ensure clean dot definition. Formulations with cellulose acetate butyrate dry quickly and maintain their shape during application. Essential colors include classic black and white, plus seasonal favorites in coral, navy, and metallics.
Professional-grade top coat with UV protection preserves dot definition and prevents color fading. Choose formulas with toluene sulfonamide formaldehyde resin for superior hardness and shine. Seche Vite and Poshe are industry standards for their quick-dry properties and durability.
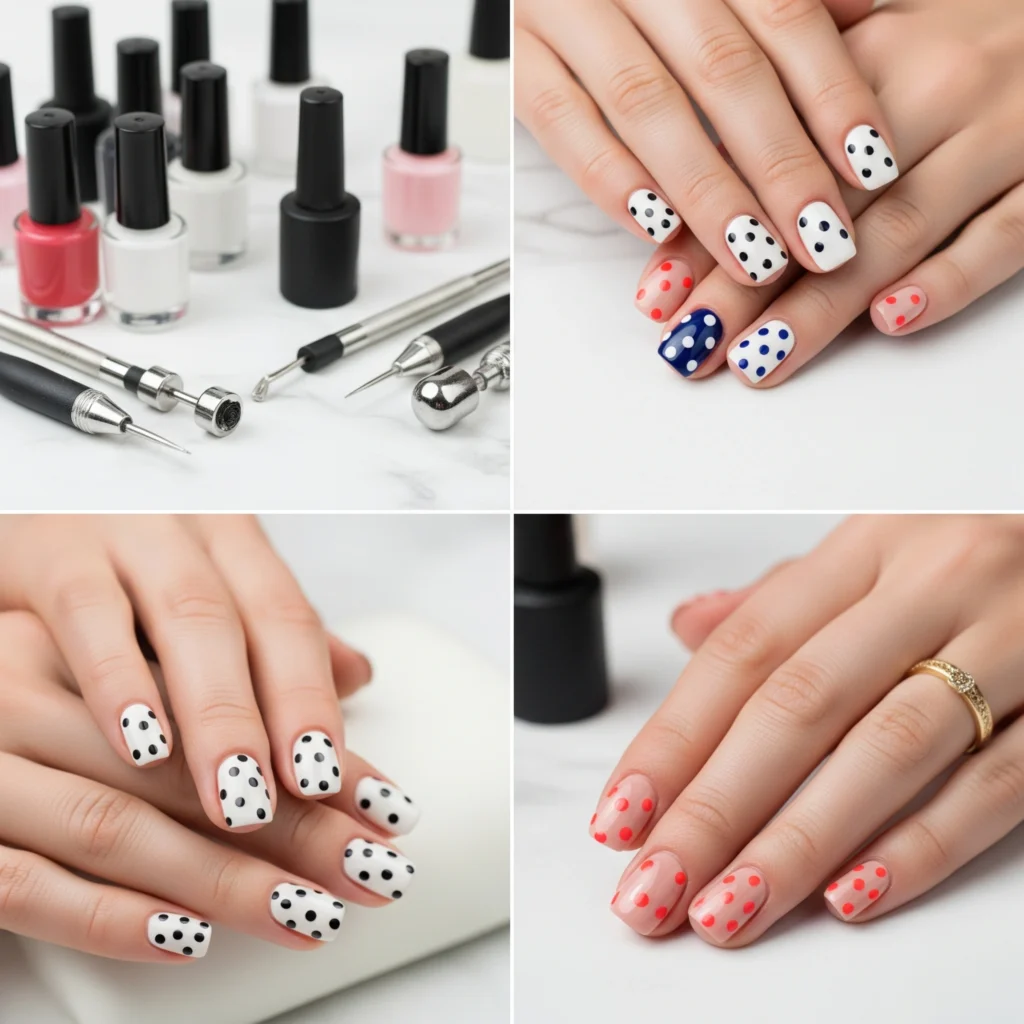
Professional Tools
Dotting tool sets provide various sizes for different design needs. Metal ball-tipped tools offer the most precision, while wooden styluses work well for beginners. Complete sets typically include 5-7 different sizes ranging from 1mm to 8mm diameters.
High-quality brushes for cleanup and detail work prove invaluable for polka dot perfection. Small angled brushes work best for correcting mistakes and creating precise edges around dots.
Nail art palettes allow proper polish mixing and tool loading. Glass or ceramic surfaces are ideal because they’re easy to clean and don’t absorb polish.
Budget-Friendly Alternatives
Bobby pins with coating removed create excellent makeshift dotting tools. The ball tips come in uniform sizes and create surprisingly professional results when cleaned properly between uses.
Toothpicks can substitute for fine detail work, though they lack the precision of professional tools. Choose flat toothpicks over round ones for more consistent results.
Small paintbrushes from craft stores work well for cleanup duties. Choose synthetic bristles that won’t absorb polish and maintain their shape after cleaning.
Best Amazon Picks :
BTArtbox Press On Nails Short
24 Pcs Almond Press On Nails
Gold Stars Press on Nails French Tips Medium
Semi Cured Gel Nail Strips, 28 pcs UV Gel Nail
Black White Press on Nails Square Fake Nails
French Press on Nails Medium Square Fake Nails
Black French Tip Press on Nails
Luxury Upgrades
Professional UV lights cure gel polishes completely, ensuring maximum durability for polka dot designs. LED options cure faster and use less energy than traditional UV bulbs.
Electric nail files with multiple attachments provide salon-quality preparation in home settings. Variable speed controls allow customization for different nail types and preparation needs.
Professional ventilation systems improve working conditions and safety when using strong polish formulations. Portable nail stations with built-in fans filter fumes effectively.
The Future of Polka Dot Nails in Nail Beauty
Emerging nail technologies are revolutionizing polka dot application techniques. Smart polishes that change color based on temperature or UV exposure create dynamic polka dot designs that shift throughout the day. These thermochromic and photochromic formulations allow for interactive nail art that responds to environmental conditions.
3D printing technology is beginning to influence nail art tools, with custom dotting implements designed for specific hand shapes and nail proportions. This personalization ensures optimal dot placement and size consistency for individual clients.
Gel formula improvements continue to enhance polka dot durability and application ease. New polymer technologies create stronger, more flexible polishes that resist chipping while maintaining workability during application.
Sustainability trends in nail products are driving development of eco-friendly polishes and tools for polka dot creation. Water-based formulations and biodegradable dotting tools appeal to environmentally conscious consumers without sacrificing quality.
AI-powered nail art apps are emerging that analyze nail photos and suggest optimal dot placement and color combinations based on nail shape and skin tone. This technology makes professional-level design decisions accessible to home users.
Industry predictions suggest that polka dot nails will evolve toward more sophisticated color-changing effects and interactive elements while maintaining the classic charm that has made them timelessly popular.
Best Amazon Picks :
BTArtbox Press On Nails Short
24 Pcs Almond Press On Nails
Gold Stars Press on Nails French Tips Medium
Semi Cured Gel Nail Strips, 28 pcs UV Gel Nail
Black White Press on Nails Square Fake Nails
French Press on Nails Medium Square Fake Nails
Black French Tip Press on Nails
Your Personalized Polka Dot Nails Journey
Transform your manicure game with these essential polka dot takeaways:
- Master proper nail preparation for dot adhesion and longevity
- Choose complementary colors based on undertone relationships
- Practice consistent tool loading and pressure for uniform results
- Allow adequate drying time between application steps
- Focus on balanced, asymmetrical dot placement for natural beauty
- Invest in quality tools and products for professional results
- Embrace controlled imperfection over rigid symmetry
Your polka dot nail transformation starts with your very next manicure. Don’t wait for perfect conditions or expensive tools—begin with what you have and gradually build your technique and tool collection. The key is consistent practice and attention to the foundational principles outlined in this guide.
Start your polka dot journey today by choosing your first color combination and practicing on a single accent nail. Share your results and questions in the comments below—our nail community loves celebrating every polka dot success, no matter how small!
Remember: every nail artist started with their first dot. Your perfect polka dot nails are just one practice session away from becoming reality.
Best Amazon Picks :
BTArtbox Press On Nails Short
24 Pcs Almond Press On Nails
Gold Stars Press on Nails French Tips Medium
Semi Cured Gel Nail Strips, 28 pcs UV Gel Nail
Black White Press on Nails Square Fake Nails
French Press on Nails Medium Square Fake Nails
Black French Tip Press on Nails
Your Polka Dot Nails Questions Answered
Q: Can I create polka dots with regular household items? A: Absolutely! Bobby pins, toothpicks, and even cotton swabs can create dots, though professional tools offer more consistency. Remove any coating from bobby pins for the smoothest application.
Q: How long should I wait between applying dots? A: Wait 30 seconds between each dot to prevent bleeding and smudging. The base color should be completely dry—use the tap test to check.
Q: What’s the best color combination for beginners? A: Start with high-contrast combinations like black dots on white base or white dots on navy. These combinations forgive small imperfections while creating dramatic impact.
Q: How many dots should I put on each nail? A: Use odd numbers (3, 5, or 7) for the most pleasing visual arrangement. Fewer dots look more sophisticated than overcrowded designs.
Q: Can I fix smudged dots without starting over? A: Yes! Use a small brush dipped in acetone to remove individual smudged dots, then reapply once the area is completely dry.
Q: Do polka dot nails work on short nails? A: Absolutely! Use smaller dots and fewer per nail to avoid overwhelming the limited space. 3-5 small dots often look perfect on short nails.
Q: How can I make my polka dots last longer? A: Proper base preparation, complete drying between steps, and quality top coat are essential. Reapply top coat every few days to maintain appearance.
Q: What’s the difference between nail art polish and regular polish for dots? A: Nail art polishes often have better pigmentation and faster drying times, but regular polish works fine with proper technique and patience.
Q: Can I layer different colored dots on top of each other? A: Yes! Allow the first layer to dry completely before adding additional colors. This creates beautiful dimensional effects.
Q: Should I use gel or regular polish for polka dots? A: Both work well. Gel offers longer wear but requires UV curing. Regular polish is more forgiving for beginners and allows for easier corrections.
Q: How do I prevent dots from looking flat and boring? A: Vary dot sizes within the same design, use multiple coordinating colors, or try the floating dot technique for dimensional effects.
Q: What should I do if my dots keep turning out oval instead of round? A: This often indicates too much polish on the tool or dragging during application. Use less polish and perfect straight up-and-down motions.