
Get Salon-Quality Gel Nails at Home
Ever stared at your chipped nail polish and wished you could achieve that perfect, glossy salon finish without spending a fortune? Welcome to the world of DIY gel nails – your ticket to professional-looking manicures right from the comfort of your home. Gone are the days when stunning gel nails were exclusive to professional nail…
Ever stared at your chipped nail polish and wished you could achieve that perfect, glossy salon finish without spending a fortune? Welcome to the world of DIY gel nails – your ticket to professional-looking manicures right from the comfort of your home. Gone are the days when stunning gel nails were exclusive to professional nail salons.
With the right tools, techniques, and a bit of practice, you can transform your nail game and create salon-quality gel nails that turn heads. This comprehensive guide will walk you through everything you need to know about mastering gel nails at home, from essential equipment to professional application techniques.
Whether you’re a beauty enthusiast looking to save money or someone who loves experimenting with nail art, our step-by-step approach will help you unlock the secrets to flawless gel nails. Say goodbye to expensive salon visits and hello to stunning, long-lasting manicures you can create yourself.
Buy Now to Enjoy 20% Off — Today Only!
Salon-Perfect Nails at Home Kit
YALSYNY Gel Studio Kit
Pro Mani Master Kit
The Ultimate Gel Nail Lab
DIY Shine Pro Kit
Key Takeaways
- Learn professional gel nail techniques at home
- Save money compared to salon visits
- Achieve salon-quality results with practice
- Understand essential tools and products
- Create long-lasting, glossy nail designs
Essential Equipment for Professional DIY Gel Manicures
Creating salon-quality uv gel manicure results starts with having the right tools and products. Mastering diy gel polish at home requires an investment in key equipment that will transform your nail care routine.

Buy Now to Enjoy 20% Off — Today Only!
Salon-Perfect Nails at Home Kit
YALSYNY Gel Studio Kit
Pro Mani Master Kit
The Ultimate Gel Nail Lab
DIY Shine Pro Kit
Choosing the Right UV/LED Lamp
Your lamp is the heart of a successful gel manicure. Professional uv gel manicure enthusiasts know that choosing the correct lamp makes a significant difference in curing times and polish quality.
- LED lamps cure faster (30-60 seconds)
- UV lamps work with more gel polish brands
- Hybrid lamps offer maximum versatility
Must-Have Gel Polish Products
Invest in high-quality diy gel polish products to achieve professional-looking results.
| Product Type | Purpose | Recommended Brands |
|---|---|---|
| Base Coat | Ensures polish adhesion | Gelish, OPI |
| Color Gel Polish | Provides vibrant color | CND Shellac, Kiara Sky |
| Top Coat | Adds shine and protection | DND, Madam Glam |
Basic Nail Care Tools
Prepare your nails like a professional with these essential tools:
- Nail file and buffer
- Cuticle pusher
- Alcohol wipes
- Lint-free wipes
- Nail cleanser
“The right tools can turn your kitchen into a professional nail studio” – Professional Nail Technician
With these essential tools, you’ll be well-equipped to create stunning gel manicures right at home. Practice and patience will help you perfect your technique.

Buy Now to Enjoy 20% Off — Today Only!
Salon-Perfect Nails at Home Kit
YALSYNY Gel Studio Kit
Pro Mani Master Kit
The Ultimate Gel Nail Lab
DIY Shine Pro Kit
Step-by-Step Guide to Prep Your Natural Nails
Preparing your natural nails is crucial for a flawless gel manicure. Proper nail strengthening techniques create the perfect foundation for long-lasting, beautiful results. Your nail prep routine can make or break the entire gel polish application process.
Start by gathering your essential nail care tools. You’ll want to focus on creating a clean, smooth surface that supports nail strengthening and promotes healthy nail growth.
- Clean nails thoroughly with alcohol-based cleanser
- Gently push back cuticles using a cuticle pusher
- Lightly buff nail surface to remove natural oils
- Shape nails using a high-quality nail file
Pro tip: Always use a gentle touch when preparing your nails to prevent damage to the natural nail surface.
“Nail preparation is the secret to a professional-looking gel manicure” – Professional Nail Technicians
Your nail strengthening routine should include careful attention to nail health. Avoid aggressive filing or cutting that could weaken your natural nails. Select tools that are gentle yet effective, such as glass nail files and soft buffing blocks.
- Use nail strengthening base coats
- Moisturize cuticles regularly
- Protect nails from harsh chemicals
- Maintain a balanced diet for nail health
By following these nail strengthening preparation steps, you’ll create the ideal canvas for a stunning gel manicure that looks professionally done and lasts for weeks.
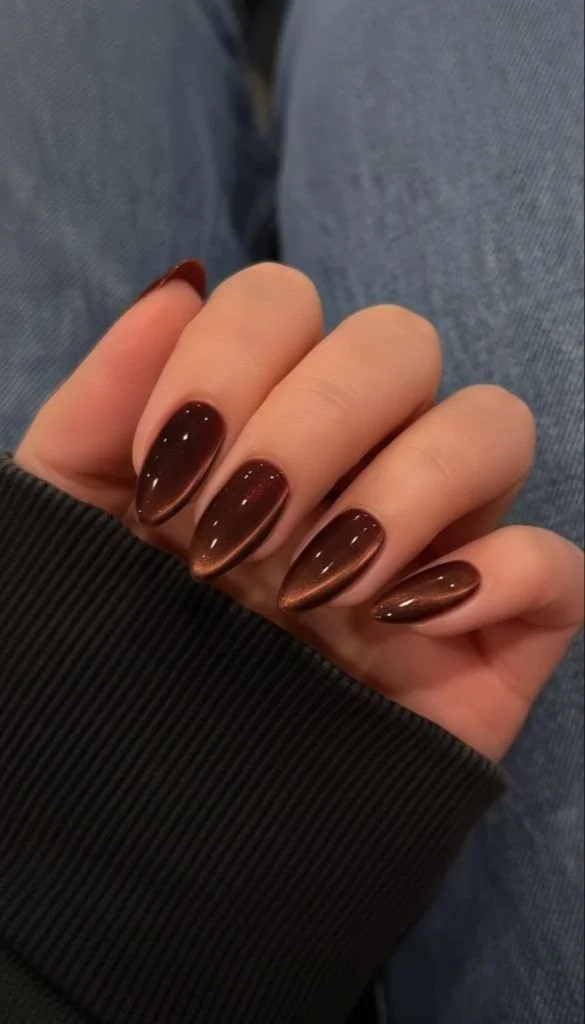
Understanding Different Types of Gel Nails
Navigating the world of gel nail extensions can feel overwhelming with so many options available. Each type of gel polish offers unique benefits for your nail care routine, helping you achieve salon-quality results at home.

Gel nail technology has revolutionized home manicures, providing durability and stunning finishes that traditional polish can’t match. Let’s explore the most popular gel nail varieties to help you choose the perfect option for your nail goals.
Soft Gel vs Hard Gel
Understanding the difference between soft and hard gels is crucial for selecting the right product:
- Soft gel: More flexible and easier to remove with soak-off techniques
- Hard gel: Extremely durable and ideal for creating gel nail extensions
Buy Now to Enjoy 20% Off — Today Only!
Salon-Perfect Nails at Home Kit
YALSYNY Gel Studio Kit
Pro Mani Master Kit
The Ultimate Gel Nail Lab
DIY Shine Pro Kit
Soak-Off vs Traditional Gels
Soak-off gel technology has transformed at-home nail care, offering easier removal compared to traditional gel methods.
| Gel Type | Removal Process | Durability |
|---|---|---|
| Soak-Off Gel | Acetone removal | 2-3 weeks |
| Traditional Gel | Filing or professional removal | 3-4 weeks |
Builder Gels and Overlays
Builder gels provide an excellent solution for strengthening natural nails. They create a protective layer that can extend your nails while maintaining a natural look.
“Gel nail extensions offer the perfect blend of beauty and durability for DIY nail enthusiasts.” – Professional Nail Technician
Whether you’re looking to enhance your natural nails or create stunning extensions, understanding these gel types will help you achieve professional-looking results right at home.
Mastering the Perfect Gel Polish Application
Creating stunning gel nails at home requires precision and practice. Your DIY gel polish journey starts with understanding the key techniques that professional nail technicians use to achieve flawless results.
Preparing for application is crucial in gel nails. Start by ensuring your nail surface is completely clean and dry. Use an alcohol-based cleanser to remove any oils or residue that might prevent proper gel polish adhesion.
- Clean nails thoroughly with alcohol wipes
- Gently buff nail surfaces for better polish grip
- Apply a thin, even base coat
- Cure each layer under UV/LED lamp
When applying diy gel polish, less is definitely more. Aim for thin, smooth layers that will cure evenly. Thick layers can lead to uneven curing and potential bubbling. Use gentle, consistent brush strokes from cuticle to nail tip.
Curing times are critical for gel nails. Most gel polishes require 30-60 seconds under a UV/LED lamp. Watch for a uniform, glossy finish that indicates proper curing. Pro tip: Rotate your hand to ensure even lamp exposure.
“Perfect gel polish application is about patience and technique, not speed.”
Each layer matters in achieving professional-looking gel nails. Take your time, be precise, and enjoy the process of creating salon-quality manicures right at home.
Tips for Long-Lasting Gel Nails
Creating a stunning gel manicure that stands the test of time requires more than just good polish. Your long-lasting nail art depends on precise techniques and professional secrets that can transform your at-home manicure from basic to salon-quality.
Professional nail technicians know that the key to a perfect gel manicure lies in meticulous preparation and application. Your gel top coat plays a crucial role in protecting and extending the life of your nail design.
Proper Curing Techniques
Curing your gel polish correctly is essential for a durable manicure. Follow these expert tips:
- Ensure each layer is completely cured under the UV/LED lamp
- Position nails centrally in the lamp for even exposure
- Respect recommended curing times for each polish type
- Rotate your hand to guarantee full coverage

Buy Now to Enjoy 20% Off — Today Only!
Salon-Perfect Nails at Home Kit
YALSYNY Gel Studio Kit
Pro Mani Master Kit
The Ultimate Gel Nail Lab
DIY Shine Pro Kit
Base and Top Coat Secrets
The foundation of long-lasting nail art starts with a high-quality base and top coat. These products create a protective barrier and enhance polish adhesion.
| Product Type | Purpose | Application Tip |
|---|---|---|
| Base Coat | Protects natural nail | Apply thin, even layer |
| Gel Top Coat | Seals and protects design | Cap free edge to prevent lifting |
Preventing Lifting and Chipping
Nail preparation is critical for preventing common gel polish problems. Clean and dehydrate your nails before application to ensure maximum adhesion and longevity.
- Gently push back cuticles
- Lightly buff nail surface
- Use alcohol wipe to remove oils
- Apply thin, even layers of polish
- Seal free edge with each coat
By implementing these professional techniques, you’ll achieve salon-quality, long-lasting nail art that looks fresh and beautiful for weeks.
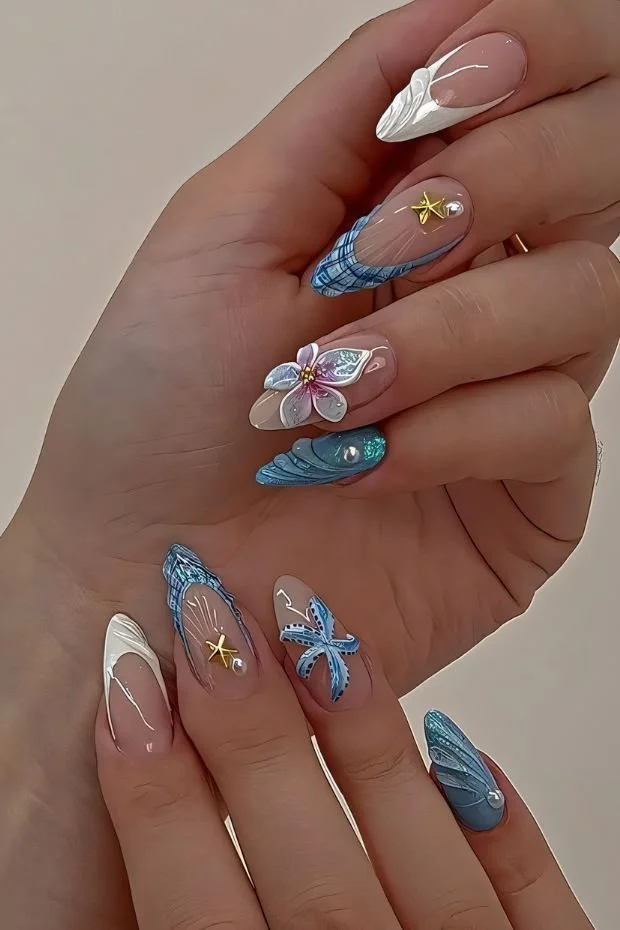
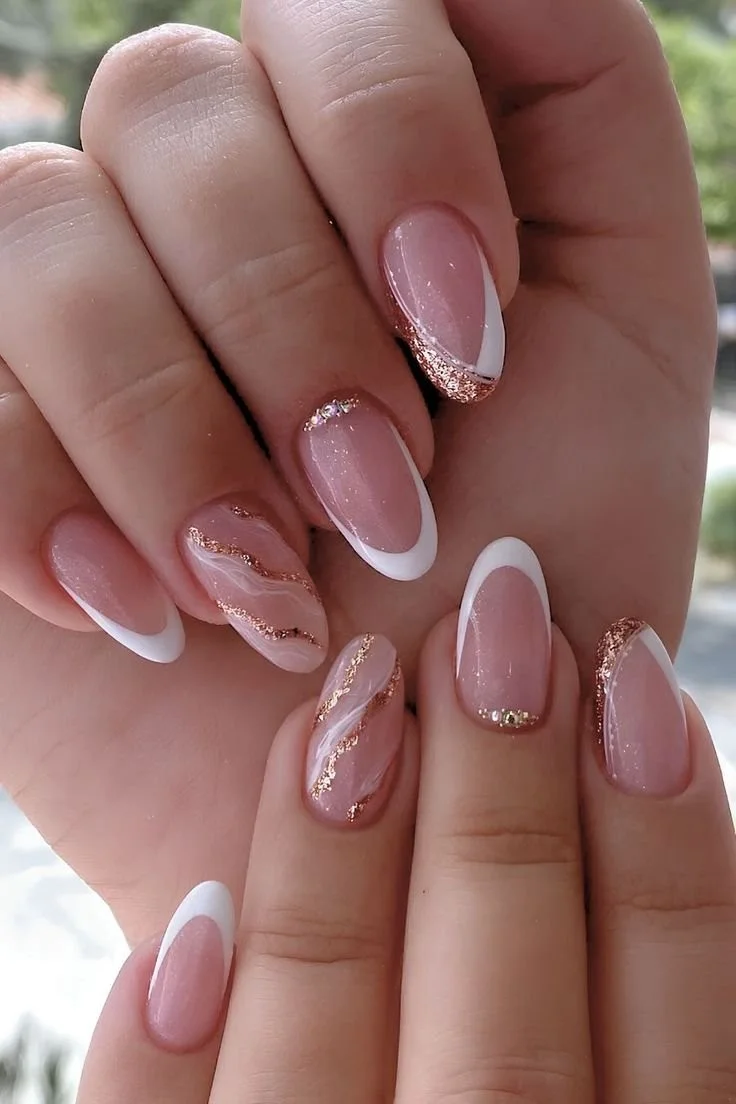
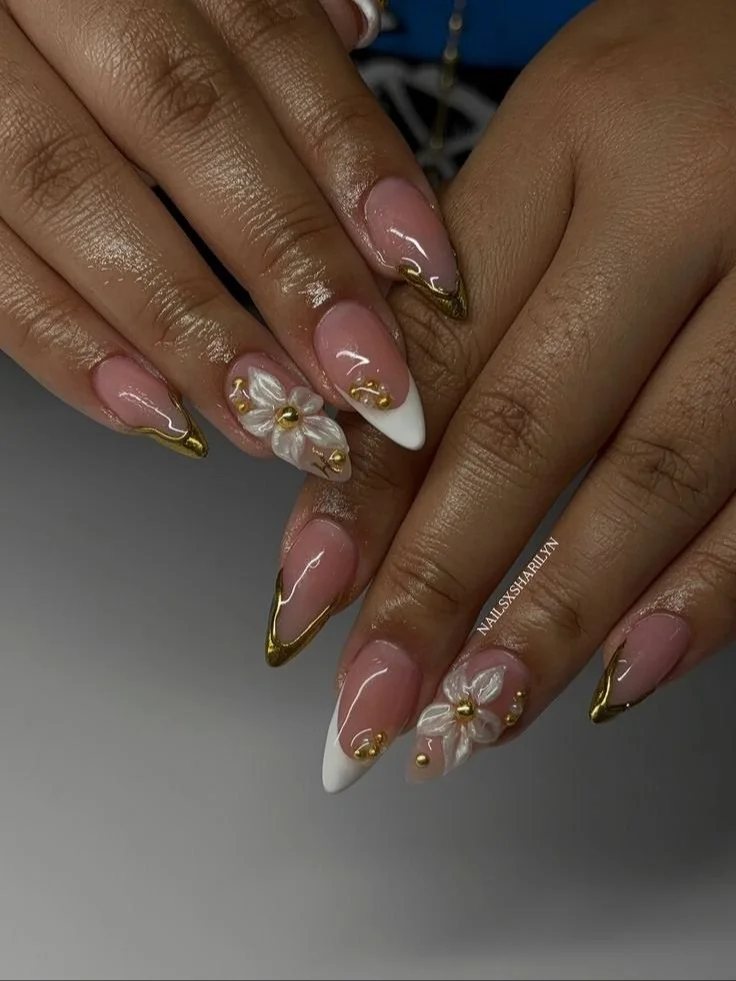
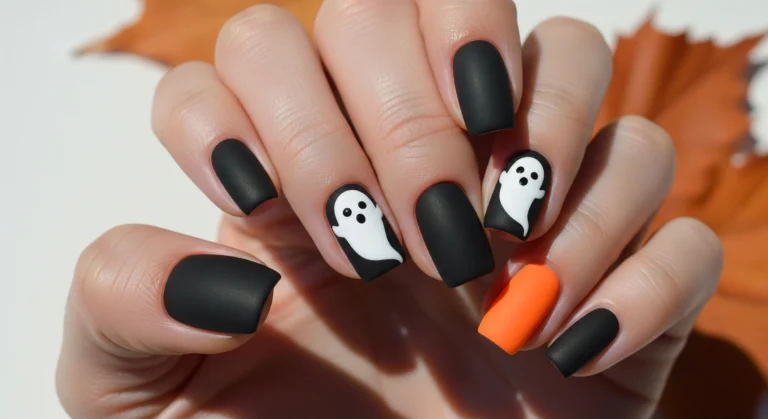
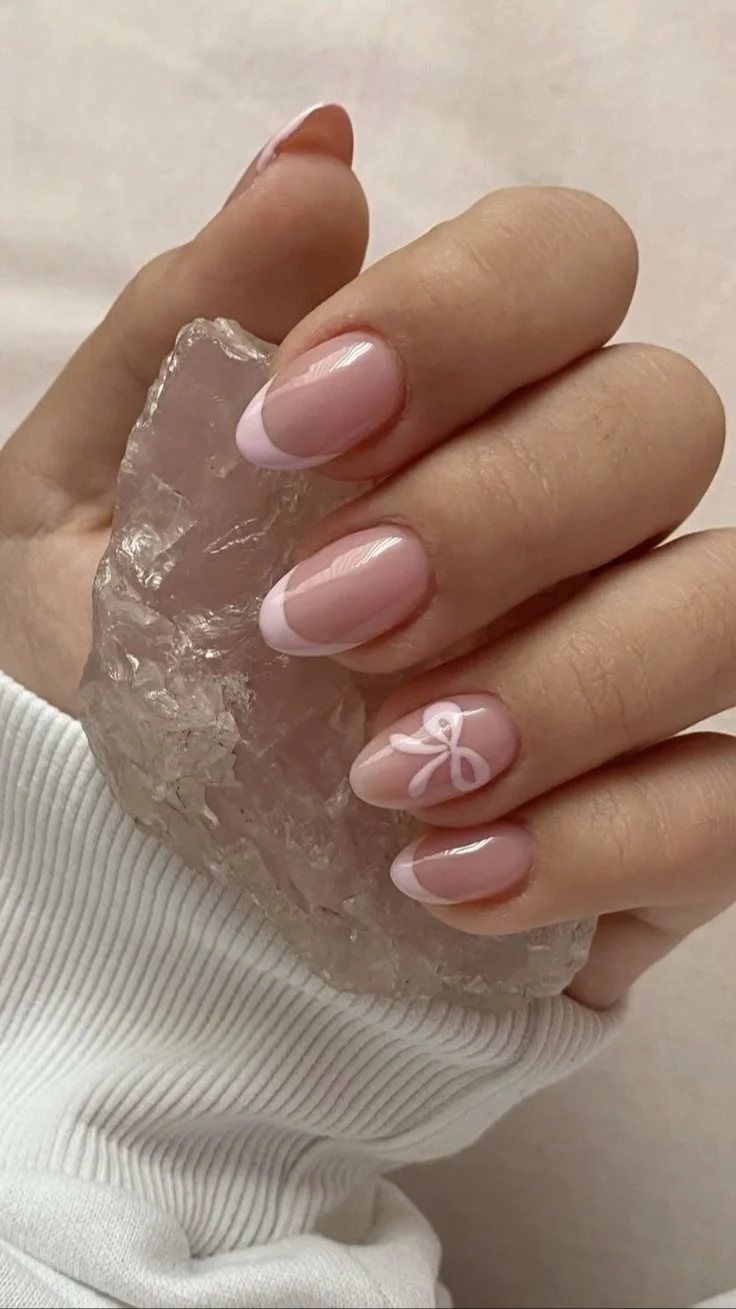
Creating Professional Nail Art with Gel Polish
Gel nails offer an incredible canvas for stunning, long-lasting nail art that can transform your manicure from simple to spectacular. With the right techniques, you can create professional-looking designs right in your own home.
Start your nail art journey by mastering some foundational techniques that will elevate your gel polish designs:
- Ombre Effect: Blend two or more colors seamlessly for a gradient look
- Marbling: Create swirling patterns using a water technique
- Stamping: Use specialized plates to transfer intricate designs
- Hand-painted Details: Add delicate designs with thin brushes
Your gel polish provides an excellent base for long-lasting nail art. Pro tips for creating stunning designs include:
- Always start with a smooth base coat
- Layer colors carefully for depth and dimension
- Use thin brushes for precise detailing
- Incorporate special effect polishes like glitter or holographic finishes
For those wanting to add extra flair, consider embellishments like rhinestones or foil accents. These elements can transform a simple gel manicure into a true work of art. Remember to seal your design with a top coat to ensure your long-lasting nail art remains pristine for weeks.
Common Mistakes to Avoid When Doing Gel Nails
Achieving a perfect uv gel manicure at home can be challenging. Many DIY nail enthusiasts encounter pitfalls that can compromise the quality and longevity of their gel nail application. Understanding these common mistakes will help you create salon-worthy nails while protecting your natural nail health.
Professional nail technicians agree that preparation and technique are crucial for a flawless gel nail finish. Knowing what to avoid can save you time, money, and potential nail damage.
Application Errors to Watch Out For
- Applying gel polish too thickly, which prevents proper curing
- Skipping base coat or top coat
- Failing to clean and prep nails thoroughly before application
- Not capping the free edge of your nails
Curing Challenges in Gel Nail Techniques
Proper curing is essential for a long-lasting uv gel manicure. Common curing problems include:
| Problem | Consequences | Solution |
|---|---|---|
| Under-curing | Soft, sticky nail surface | Extend curing time in UV lamp |
| Over-curing | Brittle, prone to lifting | Reduce lamp exposure time |
Gel Nail Removal Mistakes
Improper gel nail removal can cause significant damage to your natural nails. Never forcefully peel or scrape off gel polish. The safest gel nail removal method involves:
- Gently filing the top coat
- Soaking nails in acetone
- Using soft cotton wraps
- Carefully pushing off softened gel
“Patience during gel nail removal prevents permanent nail damage.” – Professional Nail Technician
By avoiding these common mistakes, you’ll protect your nails and achieve a professional-looking gel manicure every time.
Buy Now to Enjoy 20% Off — Today Only!
Salon-Perfect Nails at Home Kit
YALSYNY Gel Studio Kit
Pro Mani Master Kit
The Ultimate Gel Nail Lab
DIY Shine Pro Kit
Safe and Effective Gel Polish Removal at Home
Removing gel nail polish can be tricky, but with the right techniques, you can safely take off your soak-off gel manicure without damaging your natural nails. The key is patience and using the correct method.
Gel nail removal requires a careful approach to protect your nail health. Start by gathering your essential tools:
- Pure acetone
- Cotton pads
- Aluminum foil
- Cuticle pusher
- Nail buffer
The most popular method for soak-off gel removal is the foil wrap technique. This method helps minimize damage and makes the process more manageable. Here’s a step-by-step guide:
- Gently buff the top coat to break the seal
- Cut aluminum foil into small squares
- Soak cotton pads in pure acetone
- Place acetone-soaked cotton directly on the gel polish
- Wrap each nail tightly with foil
- Wait 10-15 minutes
After removing the foil, gently push off the softened gel polish with a cuticle pusher. Never scrape or force the polish off, as this can damage your natural nails.
Pro tip: Always moisturize your nails and cuticles after gel nail removal to restore hydration and prevent brittleness.
For those with sensitive nails, consider using professional gel polish removal wraps or seeking help from a nail technician to ensure the safest possible soak-off gel removal process.
Maintaining Healthy Natural Nails Under Gel Polish
Protecting your natural nails while enjoying gel polish requires strategic care. Professional nail salon experts recommend giving your nails periodic breaks to maintain their strength and health. Nail strengthening becomes crucial when frequently using gel manicures.
Your nail health depends on several key practices:
- Allow 1-2 weeks between gel polish applications
- Use nail strengthening treatments during breaks
- Hydrate cuticles with specialized oils
- Consume protein-rich foods for keratin production
Essential nutrients play a significant role in nail health. Consider incorporating biotin-rich foods like eggs, nuts, and salmon to support natural nail growth and resilience.
| Nail Care Strategy | Benefits | Recommended Frequency |
|---|---|---|
| Cuticle Oil Application | Moisturizes and prevents breakage | Daily |
| Nail Strengthening Supplements | Promotes keratin production | Weekly |
| Gel Polish Break | Allows natural nail recovery | Every 4-6 weeks |
When returning to gel polish, always prep your nails carefully. A professional nail salon approach involves gentle buffing, proper base coat application, and avoiding aggressive filing techniques that can weaken nail structure.
Pro tip: Think of your nails like skin—they need regular nourishment and occasional rest to stay healthy!
Remember, nail strengthening is a holistic process that combines external care and internal nutrition. By following these guidelines, you can enjoy stunning gel manicures while maintaining the natural beauty and health of your nails.
Buy Now to Enjoy 20% Off — Today Only!
Salon-Perfect Nails at Home Kit
YALSYNY Gel Studio Kit
Pro Mani Master Kit
The Ultimate Gel Nail Lab
DIY Shine Pro Kit
Conclusion
Mastering gel nails at home is an exciting skill that empowers you to create stunning manicures without salon prices. Your DIY gel polish adventure can transform how you approach nail care, giving you professional-looking results right in your own space. With the techniques and knowledge you’ve learned, you’re now equipped to create beautiful, long-lasting nail designs.
Remember that practice makes perfect when working with gel nails. Each application will improve your technique, helping you develop precision and confidence. Start simple with classic colors and gradually explore more complex nail art designs. The key is patience and attention to detail in every step of your gel nail process.
Your investment in quality tools and understanding proper application methods will pay off with salon-quality gel nails that last weeks. By following the guidelines for preparation, application, and removal, you’ll protect your natural nails while enjoying stunning manicures. Embrace the creativity and freedom that DIY gel polish brings to your personal beauty routine.
Whether you’re a beginner or looking to refine your skills, gel nails offer an exciting way to express your personal style. With the right approach, you can achieve professional-looking results that will make your hands look polished and elegant every single time.
FAQ
How long do gel nails typically last?
With proper application and care, gel nails typically last between 2-3 weeks without chipping or lifting. The longevity depends on factors like your nail preparation, quality of products, and daily activities that stress your nails.
Can I do gel nails at home without professional experience?
Absolutely! With the right UV/LED lamp, quality gel polish, and some practice, you can achieve salon-quality gel nails at home. Start by watching tutorial videos, investing in good tools, and taking your time during application.
What’s the difference between soft gel and hard gel?
Soft gel is more flexible and can be soaked off with acetone, while hard gel is more rigid and requires filing for removal. Soft gel is typically used for regular color polish, and hard gel is often used for nail extensions and strengthening.
How do I prevent gel polish from damaging my natural nails?
To protect your nails, always use a base coat, avoid peeling off the gel, follow proper removal techniques, and give your nails breaks between gel applications. Use cuticle oil and nail strengthening treatments during these rest periods.
What tools do I need for a DIY gel manicure?
Essential tools include a UV/LED lamp, base coat, color gel polish, top coat, nail files, buffer, cuticle pusher, alcohol wipes, and lint-free wipes. Quality tools make a significant difference in your results.
How can I remove gel polish safely at home?
Use the foil wrap method with acetone-soaked cotton pads. Wrap each nail for 10-15 minutes, then gently push off the polish with a cuticle pusher. Avoid forcefully scraping to prevent nail damage.
Can gel polish help strengthen weak nails?
Yes, builder gels and certain gel formulations can help strengthen weak nails by providing a protective layer. However, it’s crucial to use them correctly and give your nails breaks between applications.
How do I prevent gel polish from lifting?
Prevent lifting by thoroughly preparing your nails, using a dehydrator, applying thin layers, capping the free edge, and ensuring complete curing between layers. Avoid getting polish on your cuticles or skin.
What’s the best way to cure gel polish?
Use a high-quality UV/LED lamp and follow the manufacturer’s recommended curing times. Typically, this means 30-60 seconds per layer, depending on your specific lamp and gel polish brand.
Can I do nail art with gel polish?
Absolutely! Gel polish is excellent for nail art because it’s long-lasting and provides a smooth surface. You can create designs using stamping plates, hand-painting, ombre effects, and even add embellishments like glitter or rhinestones.