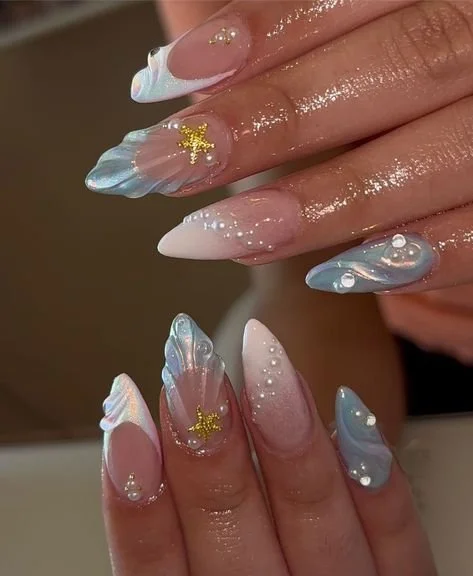
25 Pearl Shell Nail Designs for a Mermaid-Inspired Look
Why Make This Recipe Creating pearl shell nail designs is a fun way to bring the magic of the ocean to your fingertips. These beautiful and unique nail art styles look amazing and are perfect for summer, beach parties, or when you simply want to feel like a mermaid. The design combines elegant pearls with…
Why Make This Recipe
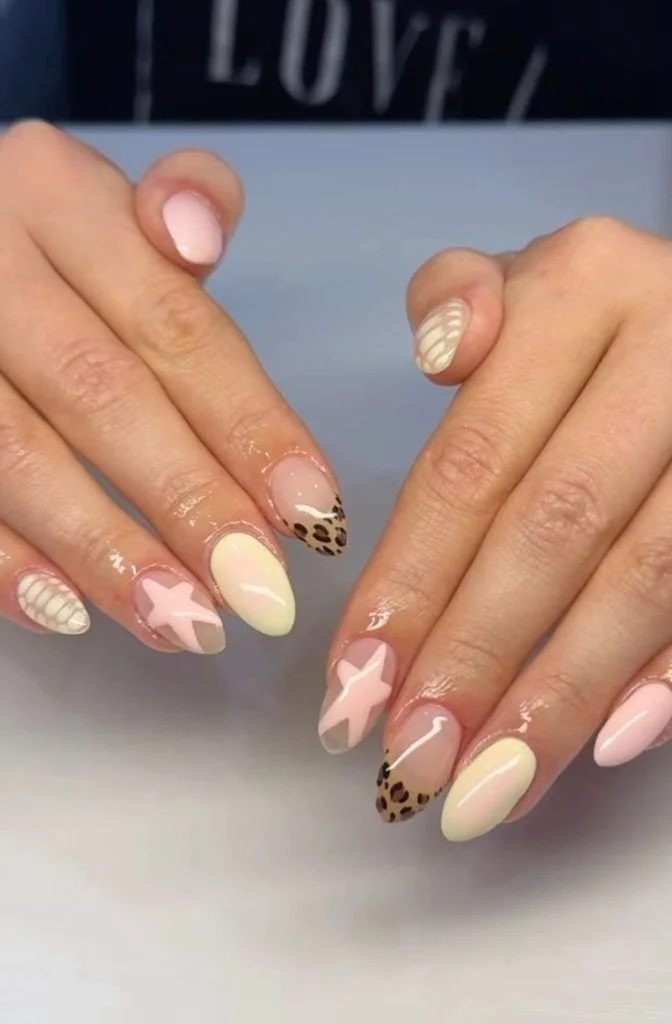
Creating pearl shell nail designs is a fun way to bring the magic of the ocean to your fingertips. These beautiful and unique nail art styles look amazing and are perfect for summer, beach parties, or when you simply want to feel like a mermaid. The design combines elegant pearls with shell-like patterns, making for a stunning finish.
How to Make Pearl Shell Nail Designs
Ingredients:
- Nail polish (white, light blue, and glitter)
- Nail art brush or toothpick
- Small pearls or rhinestones
- Base coat
- Top coat
- Nail file
- Nail primer (optional)
Directions:
- Start with clean nails. Use a nail file to shape them as you like.
- Apply a base coat on each nail to protect them. Let it dry completely.
- Paint your nails with a light blue polish as the base color. Allow it to dry.
- Use a nail art brush or toothpick to create shell patterns with white polish.
- Add small pearls or rhinestones where you want to create a lovely pearl effect.
- Finish with a top coat to give your nails a shiny look and protect the design.
- Let everything dry and dry thoroughly for the best results.
How to Serve Pearl Shell Nail Designs
You can show off your gorgeous pearl shell nail designs at parties, gatherings, or any occasion. Pair them with beach-themed outfits or light summer dresses to enhance the mermaid vibe.
How to Store Pearl Shell Nail Designs
Since this is a nail design, you don’t need to store it like food. However, you can keep your nail art tools and extra nail polish in a cool, dry place. Ensure the bottles are tightly closed to prevent them from drying out.
Tips to Make Pearl Shell Nail Designs
- Take your time while painting the designs for a clean look.
- Use a thin brush for detailed shell patterns.
- Apply more than one layer of topcoat for extra shine and durability.
- Experiment with colors to create your own unique designs.
Variation
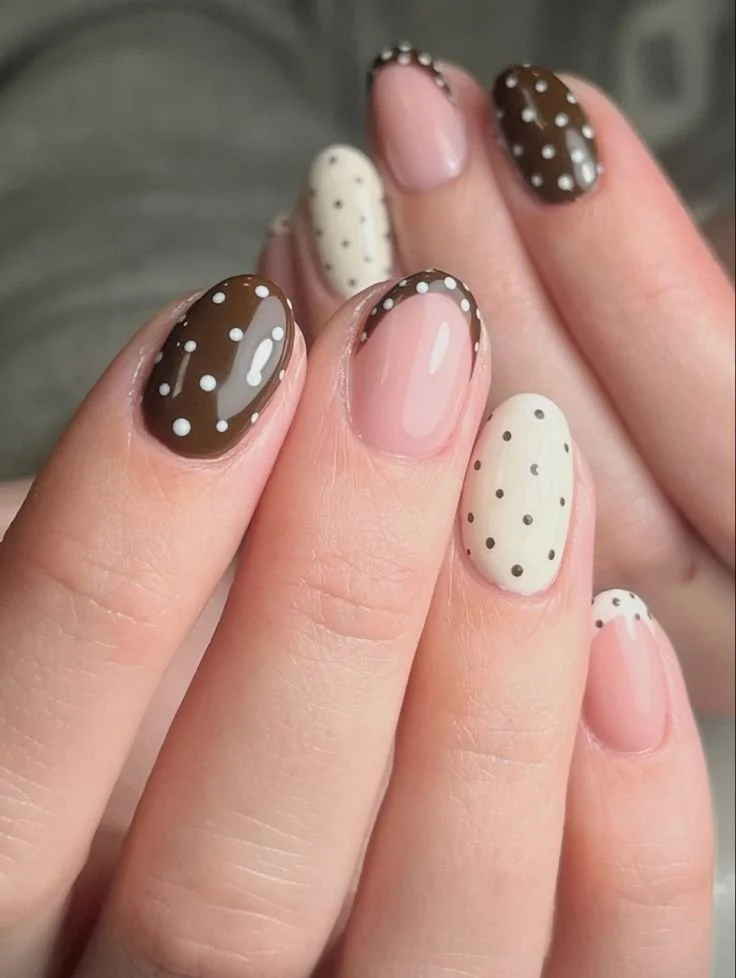
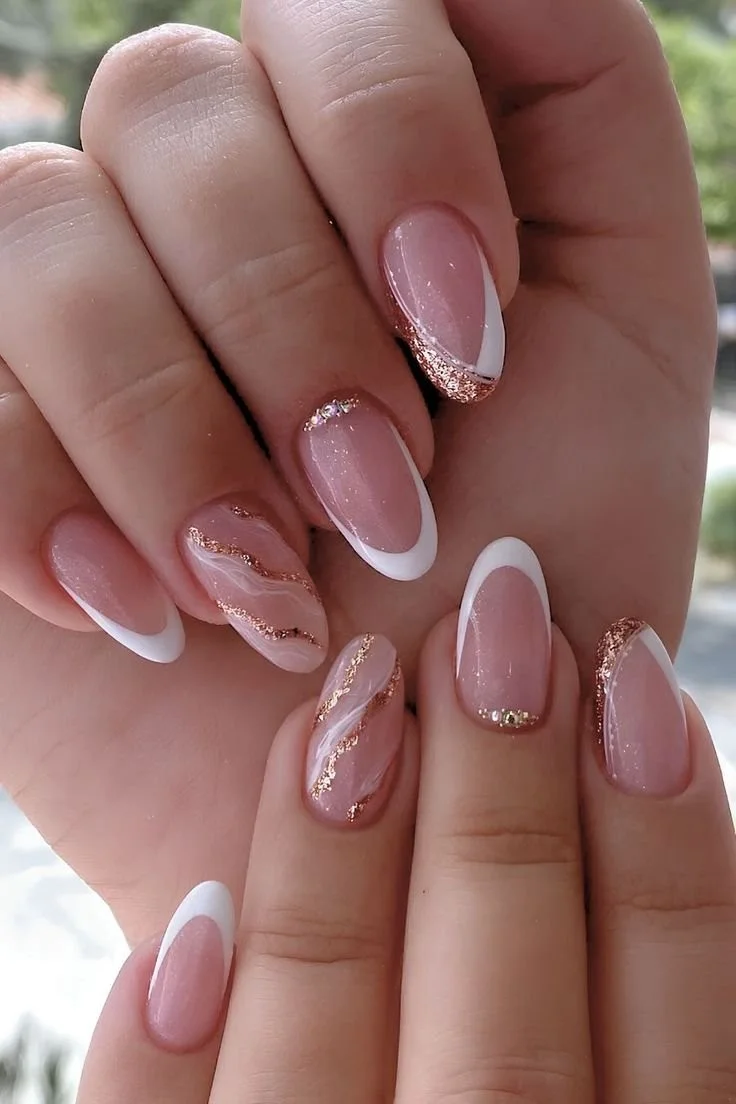
You can use different colors like pink, sea green, or even metallic shades for a more dramatic effect. You can also mix different sizes of pearls or add glitter for extra sparkle.
FAQs
1. How long will the pearl shell nail designs last?
With a good base coat and top coat, the designs can last about a week.
2. Can I do this design on fake nails?
Yes, you can create this design on both natural and fake nails.
3. What if I don’t have small pearls?
You can skip the pearls and use just the nail polish designs or create a glittery effect instead.